# Introduction
Welcome to Mail Studio's documentation, where you will find help materials and guides that explain every part of the app. You can browse through all available articles in the sidebar on the left. To search, use the field in the navigation bar above.
Tip: To see Mail Studio in action, you can watch our video lessons.
# The Application Window
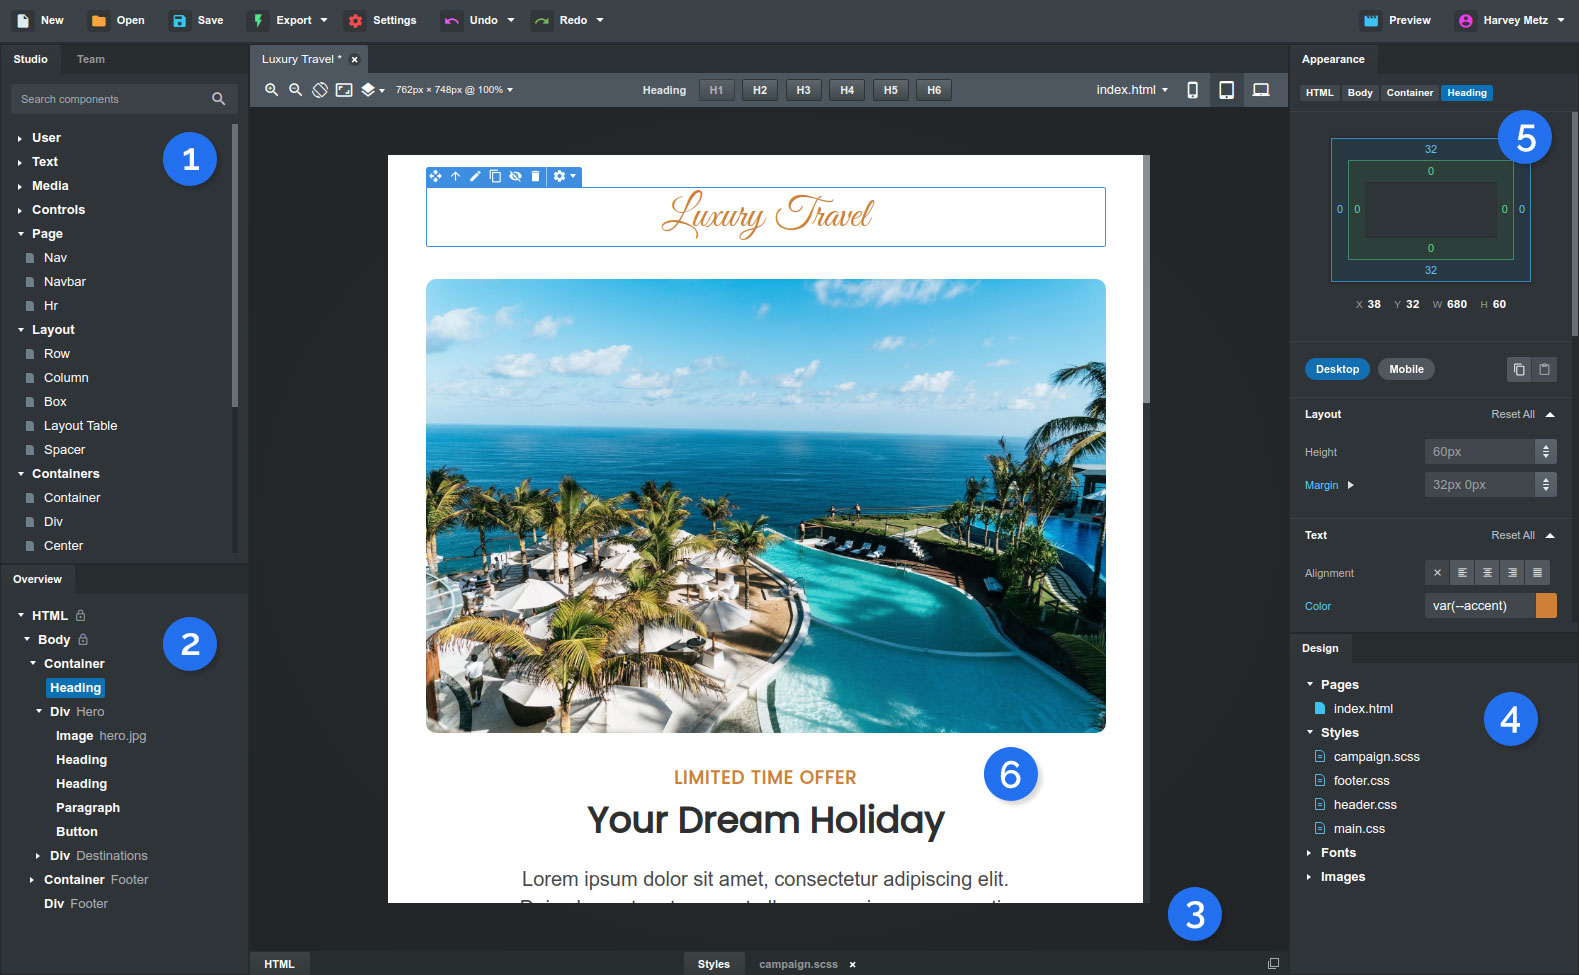
The Mail Studio window is divided into a number of functional areas:
- Component panel – it consists of a Studio and Team tabs. Holds all available components which you can drag and drop onto the Stage (6) and the Overview (2).
- Overview panel – It gives you a quick overview of all components on the page. Components here can be dragged and reordered.
- Editor panel – contains HTML and Styles tabs. You can click to expand it, and detach it as a separate window.
- Design panel – holds all pages, CSS, SASS files and images of your design. When double clicked, pages are opened in the Stage (6) and other assets - in the Editor panel (3).
- Appearance panel – displays the options of the selected component(s) and gives you easy visual customization controls.
- The Stage – this is where you see a preview of the page, drag and drop components and edit text.
You can learn more about the panels by following some of our tutorials in the main navigation.
# Visual Editing
The application is built around visual editing. You construct your email designs by dragging and dropping components, selecting them, and changing their styling. Mail Studio generates all the necessary HTML and CSS, so that it works consistently across email clients.
To learn more about visual editing, visit our selecting components tutorial, and our appearance guide.
It's worth noting that the app adapts to code-heavy workloads as well. The Editor panel holds an HTML view and a powerful CSS editor. You can even edit SASS with automatic compilation. Connecting external editors is also supported.
# Opening and Saving
The documents that you create in Mail Studio are referred to as Designs. You can open them and save them to your cloud drive, or as files with the .msdesign extension if you prefer to work locally.
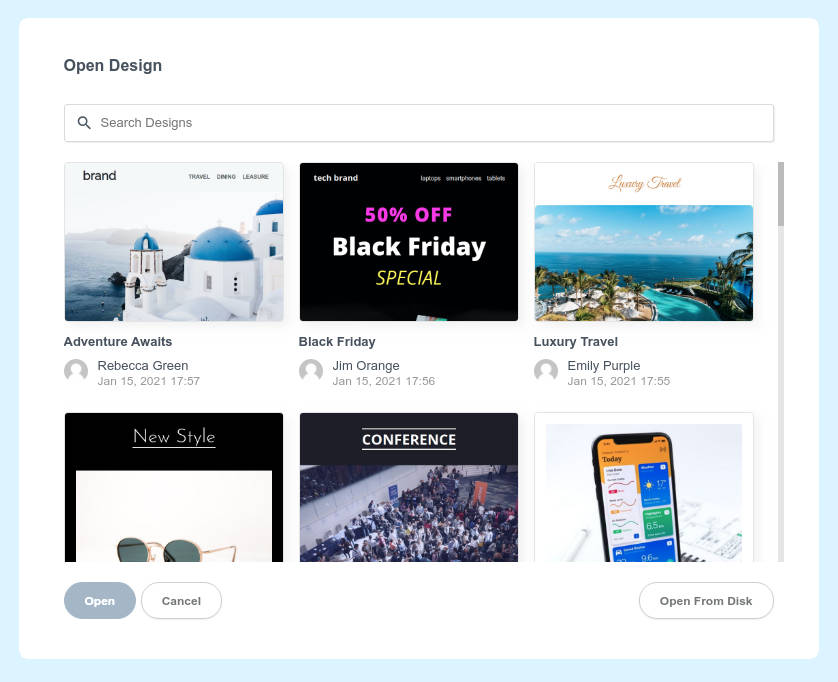
Opening a design is straightforward:
- Cloud designs are opened by choosing (
File > Open). You will see the dialog from the photo above. These designs can also be seen on the mailstudio.app website after you login. - Local designs are opened by double clicking them in the Window/Linux/macOS file manager.
# Exporting
Once you've finished your design, you can export it as a folder with regular HTML, CSS and Image files. Then you can proceed importing it in email platforms like MailChimp and Campaign Monitor, or just handing it off to a developer.
Learn more in our dedicated Export guide.
# Automatic Backups
Mistakes happen and computers have a tendency to crash at the worst of times. This is why Mail Studio has automatic backups built-in. By default, every 5 minutes the application takes a snapshot of the design you are working on and saves it to your hard drive.
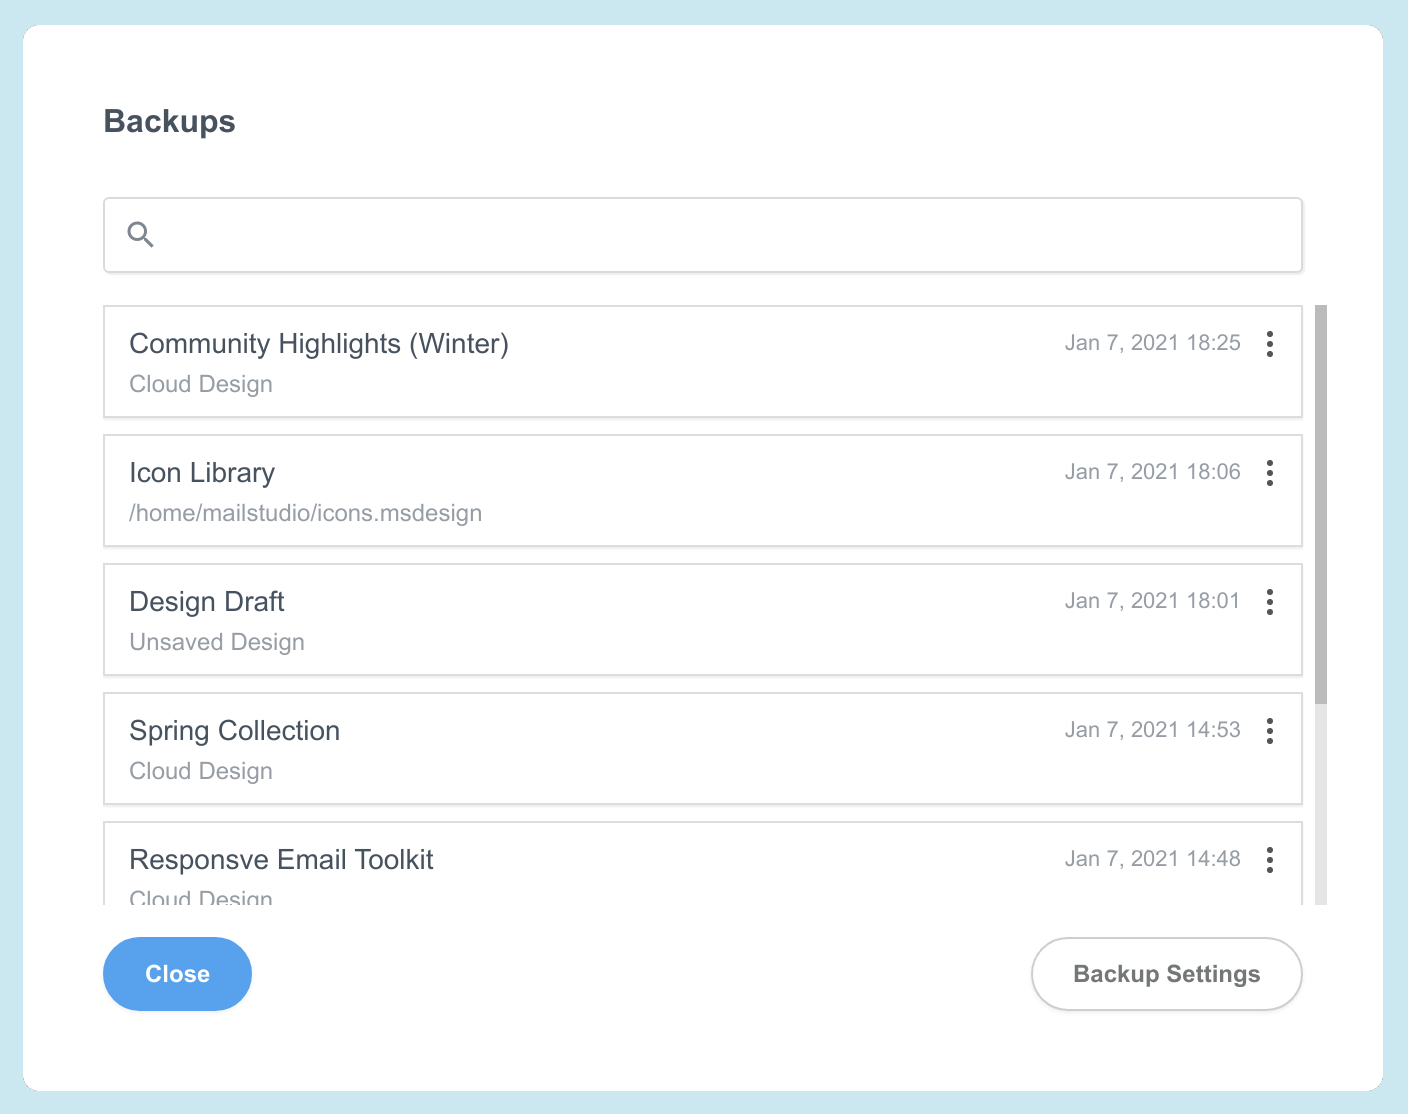
You can control how many snapshots are kept, change the period, destination and even disable backups entirely in the Settings dialog. To see your recent backups, click the File > Backups menu.